The latest version of Windows, namely Windows 7 appears to regulate the issue of stability more than the previous release. If the claim is not one of the best current version. But man-made name, you never know at any computer malfunction could occur. In this article we will see the option in Windows 7 that lets you create a way to repair the disk if you boot from the recovery system to recover your operating system.
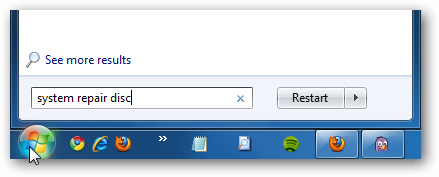
1. From the desktop, click [Start] and then in the search box type in [system repair disc].
2. Dialog box will open where you select CD / DVD drive and click [Create disc]. A disc will not be a problem with the space because it only takes 142MB of space.
3. Wait until the process is complete.

How to Use System Repair Disk
1. If you experience problems with your operating system just enter the recovery disks and boot from there and go into Windows Setup [EMS Enabled].

2. After boot up you can access the [recovery tools] or [restore the computer back to a system image] (see screen shoot pictures that I show below);

3. now you can choose from a window [system recovery options] different recovery to help restore your operating system back to normal. Please choose one of them. For recovery by using the CD image, I will discuss in the next article.

You will never know for sure when a catastrophic operating system may occur, but has a System Recovery Disc to guard should be part of your backup.
postingan yang bagus tentang How to Create System Repair Disk in Windows 7
ReplyDelete